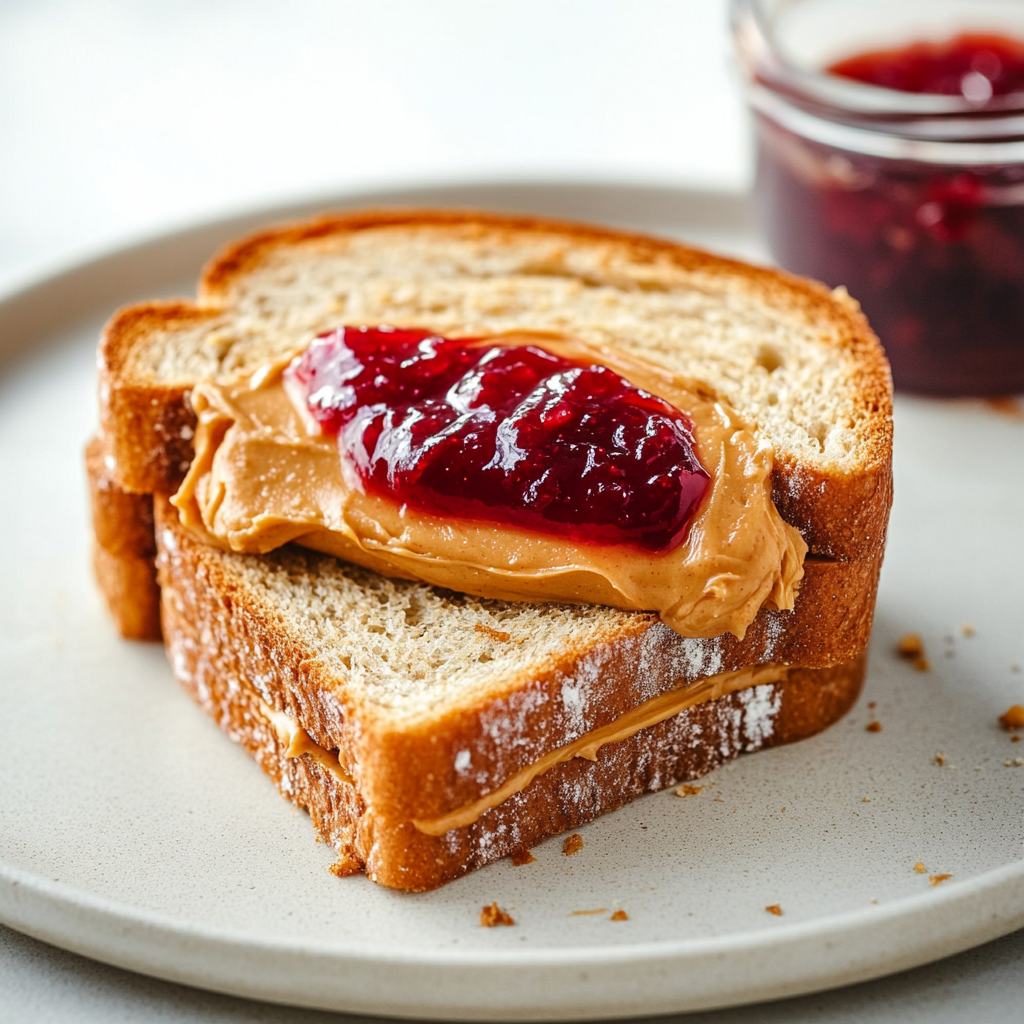
There’s something magical about the combination of peanut butter and jelly that takes us back to childhood. The creamy, nutty spread meets the sweet, fruity goodness in a perfect embrace that’s hard to resist. As we take a bite, the flavors dance on our taste buds, and for a moment, we feel like kids again, carefree and happy.
Picture this: it’s a sunny afternoon, and you’re lounging on the porch with a plate of perfectly crafted peanut butter and jelly sandwiches. Each bite delivers a nostalgic blast from the past, reminding you of school lunches and backyard picnics. Whether you enjoy it on soft white bread or go gourmet with artisan options, this classic treat never fails to satisfy.
Why You'll Love This Recipe
- This peanut butter and jelly recipe brings together simplicity and nostalgia in every bite
- It’s an effortless dish that captures the essence of comfort food at its finest
- You can personalize it by choosing your favorite bread and jelly flavors
- Its colorful layers make it visually appealing for any occasion
- Perfect for lunchboxes or midnight snacks!
The first time I made these sandwiches for my kids, their eyes lit up like Christmas morning when they took their first bites.
Essential Ingredients
Here’s what you’ll need to make this delicious dish:
-
Peanut Butter: Choose creamy or crunchy based on your texture preference; both are delicious!
-
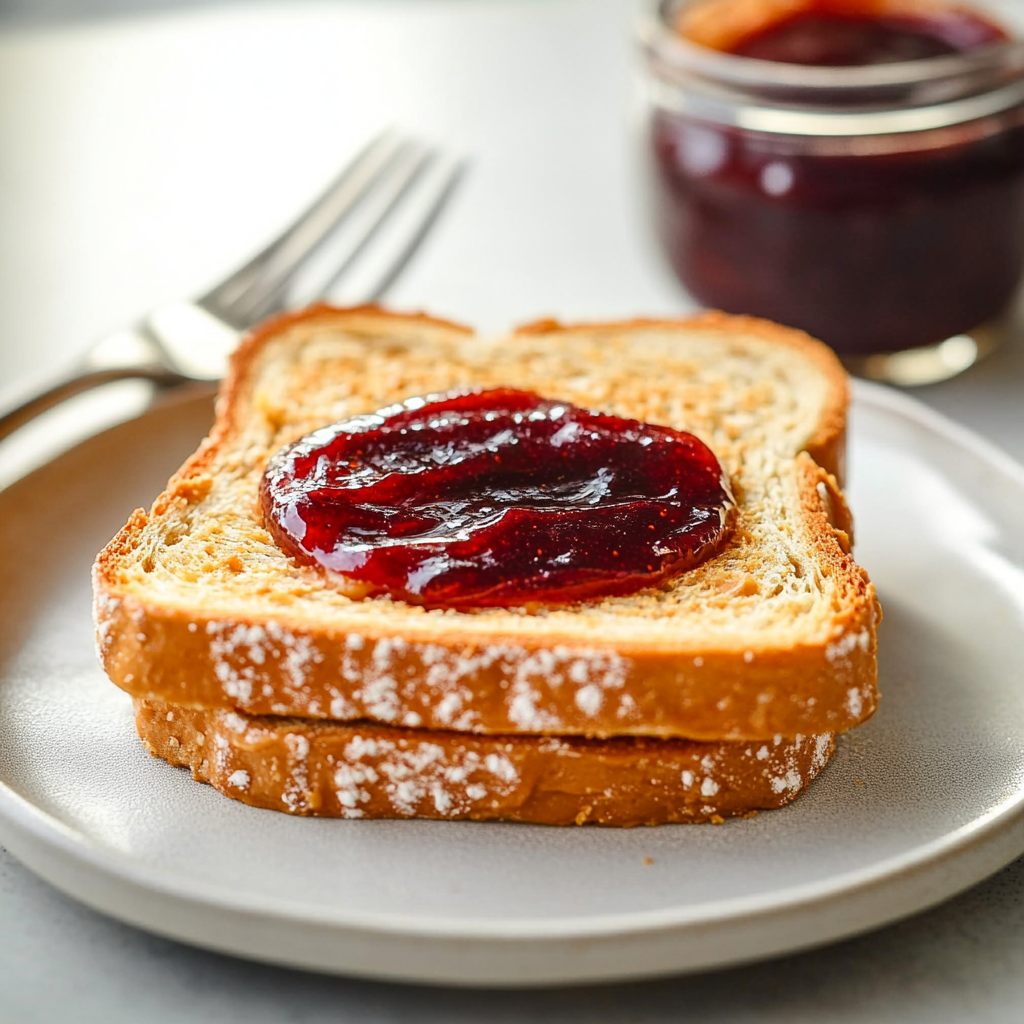
Jelly or Jam: Go for your favorite flavor—strawberry is classic, but raspberry adds a fun twist.
-
Bread: White bread is traditional, but whole grain or even gluten-free options work well too.
-
Butter (optional): For grilling those sandwiches into crispy perfection, butter adds extra flavor.
The full ingredients list, including measurements, is provided in the recipe card directly below.
Let’s Make it together
Gather Your Ingredients: Start by laying out all your ingredients on the counter. This will save you time and keep things organized as you move forward.
Spread the Peanut Butter: Grab one slice of bread and generously slather peanut butter across it. Make sure you reach all corners to avoid dry bites!
Add the Jelly: On another slice of bread, spread your chosen jelly or jam evenly. Don’t be shy—this is where the magic happens!
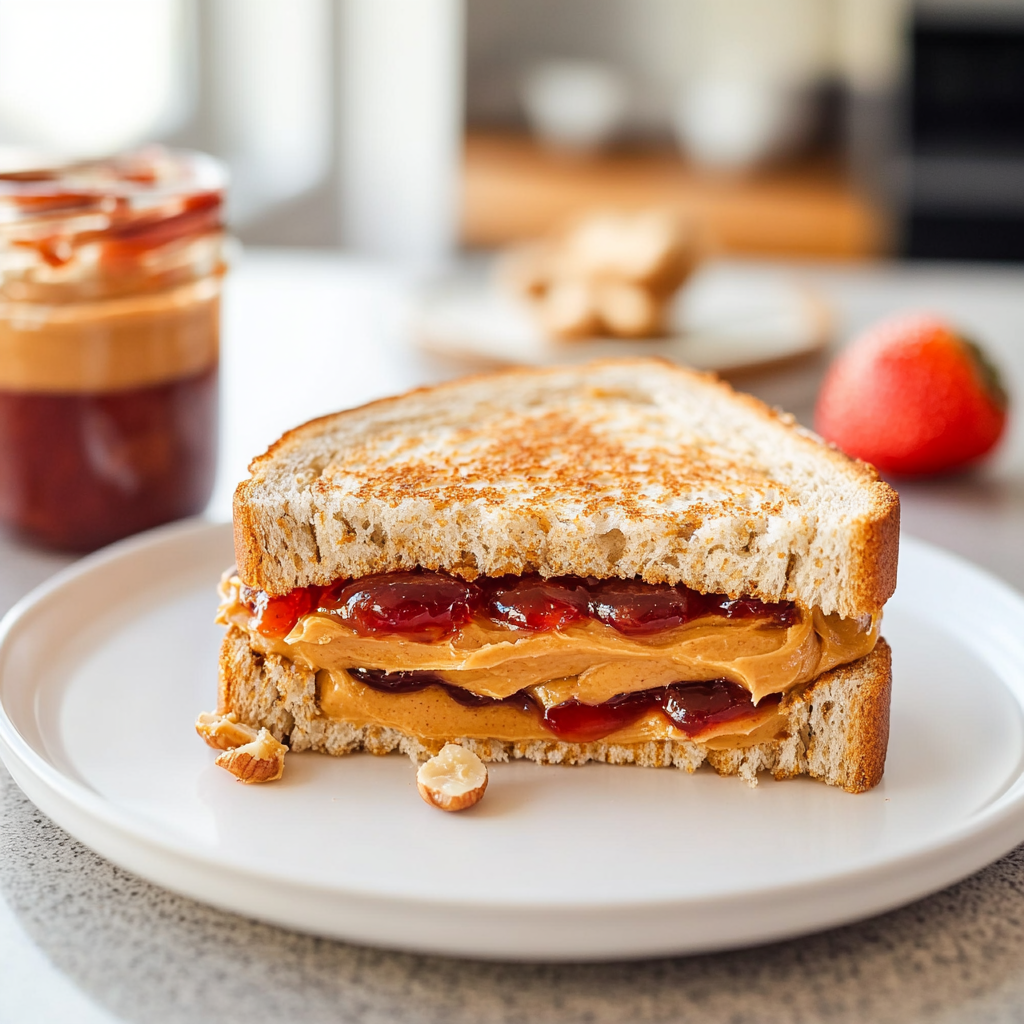
Combine the Slices: Carefully place the two slices together with peanut butter facing jelly. Gently press them down to create a delightful union.
Grill It Up (optional): If you’re feeling adventurous, heat a skillet over medium heat and melt some butter in it. Grill the sandwich until golden brown on each side for extra crunchiness.
Slice and Serve!: Cut your sandwich diagonally for that Instagram-worthy presentation! Serve it with some fresh fruit or chips on the side for a complete meal experience.
Now you have a delightful peanut butter and jelly sandwich ready to enjoy! Feel free to experiment with different breads or spreads to keep things exciting.
You Must Know
- Peanut butter and jelly sandwiches are not just a childhood classic; they’re a culinary canvas
- Experiment with nut butters and jams for unexpected flavor combinations
- Remember, the key is in the balance of creamy and sweet, making every bite a nostalgic delight
Perfecting the Cooking Process
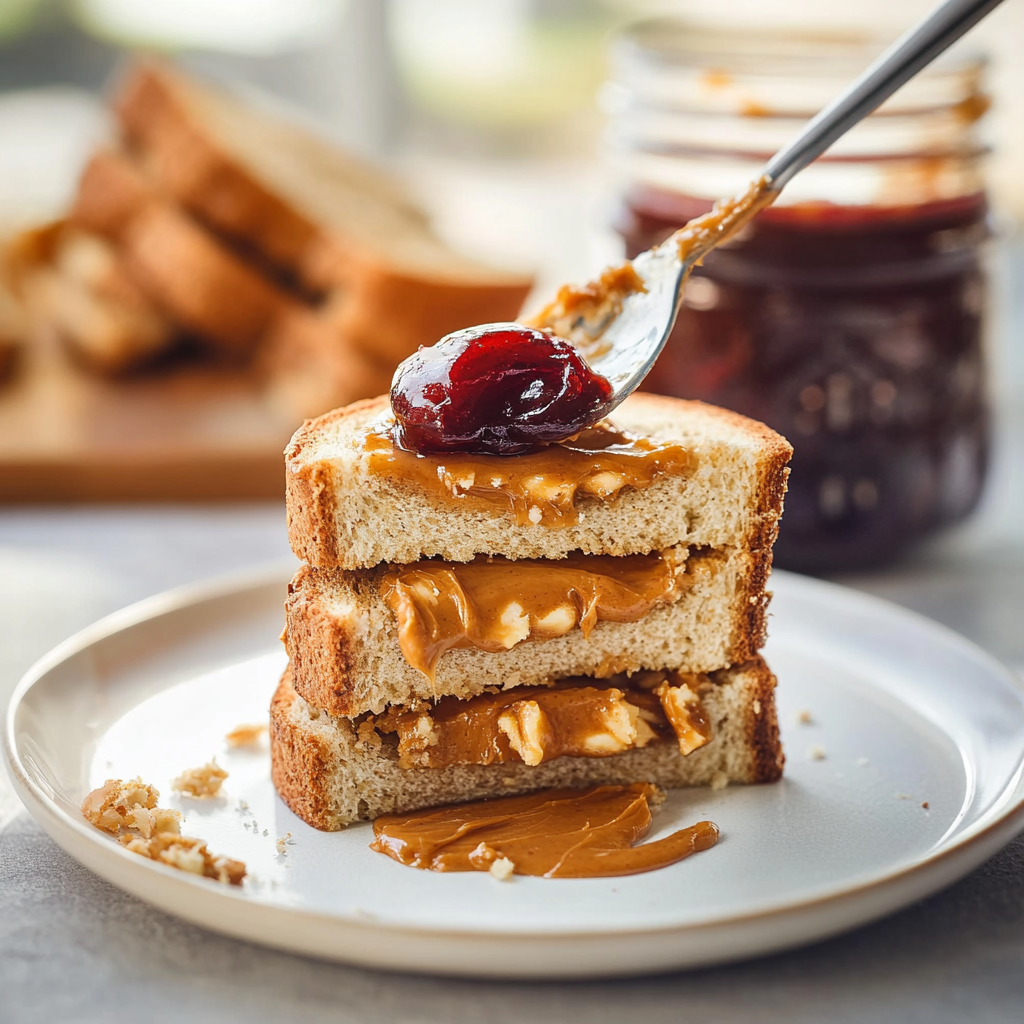
Start by spreading peanut butter on one slice of bread, then layer on your favorite jelly. This order prevents sogginess and gives you a perfect sandwich every time.
Add Your Touch
Try swapping regular peanut butter for crunchy or almond butter for a delightful twist. You can also use honey or fresh fruit slices to elevate your sandwich.
Storing & Reheating
Peanut butter and jelly sandwiches are best enjoyed fresh, but you can store them in an airtight container for up to one day. Avoid refrigeration to keep bread soft.
Chef's Helpful Tips
- Keep your bread at room temperature for better spreading; cold bread makes it crumbly
- Always layer peanut butter first to lock moisture from jelly
- For extra crunch, add granola inside your sandwich
I remember the first time I made this classic sandwich for my little cousin—her face lit up like it was Christmas morning!
FAQ
What type of bread works best for peanut butter and jelly?
Whole grain or soft white bread makes excellent choices for texture and flavor balance.
Can I make peanut butter and jelly sandwiches in advance?
Yes, but they taste freshest when made right before eating to avoid sogginess.
What are some creative variations of peanut butter and jelly?
Try using flavored nut butters or different jellies like raspberry or even chocolate spread!
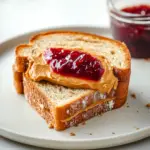
Peanut Butter and Jelly Sandwich
- Total Time: 10 minutes
- Yield: 1 serving 1x
Description
Peanut butter and jelly sandwiches are a timeless favorite that brings back memories of carefree childhood days. This classic recipe combines creamy peanut butter with sweet jelly between slices of your favorite bread, creating a delightful balance of flavors and textures. Whether you’re making lunch for the kids or enjoying a nostalgic snack yourself, this simple yet satisfying dish is sure to please!
Ingredients
- 2 slices bread (white, whole grain, or gluten-free)
- 2 tbsp peanut butter
- 2 tbsp jelly or jam (your favorite flavor)
- 1 tsp butter (optional, for grilling)
Instructions
- Gather all ingredients and lay them out on the counter.
- Spread 2 tablespoons of peanut butter on one slice of bread.
- On the second slice, spread 2 tablespoons of jelly evenly.
- Press the two slices together, with the peanut butter facing the jelly.
- If desired, heat a skillet over medium heat, melt 1 teaspoon of butter, and grill the sandwich until golden brown on each side.
- Slice diagonally and serve with fresh fruit or chips.
- Prep Time: 5 minutes
- Cook Time: 5 minutes
- Category: Snack
- Method: Grilling
- Cuisine: American
Nutrition
- Serving Size: 1 sandwich
- Calories: 350
- Sugar: 10g
- Sodium: 300mg
- Fat: 16g
- Saturated Fat: 3g
- Unsaturated Fat: 11g
- Trans Fat: 0g
- Carbohydrates: 44g
- Fiber: 3g
- Protein: 10g
- Cholesterol: 0mg

