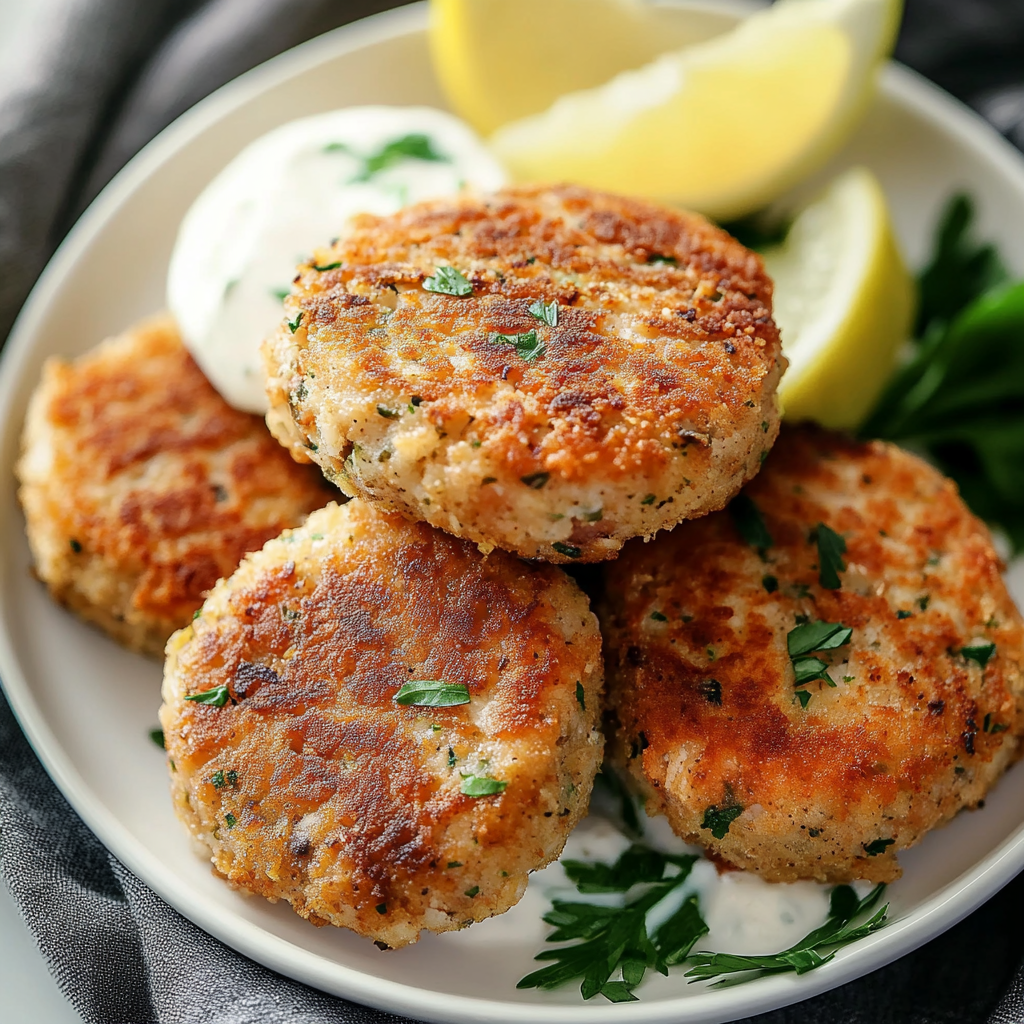
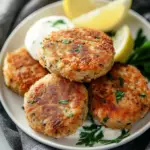
The aroma of sizzling salmon cakes with canned salmon fills the kitchen, teasing your taste buds and promising a delightful meal. With a crispy exterior and tender, flavorful interior, these cakes are more than just food; they’re a warm hug for your stomach.
Picture this: You’re gathered with family or friends, laughter echoing around the table while everyone dives into these golden bites of deliciousness. Whether it’s a casual weeknight dinner or a festive gathering, salmon cakes bring joy to any occasion. Get ready to savor the moment!
Why You'll Love This Recipe
- These salmon cakes are incredibly easy to prepare, making weeknight dinners a breeze
- The flavors burst with every bite, offering a delightful mix of savory and fresh notes
- Their vibrant color makes them visually appealing on any plate
- Plus, they’re versatile enough for appetizers or main courses!
I once brought these salmon cakes to a potluck, and let me tell you, they practically disappeared within minutes! Everyone was asking for the recipe.
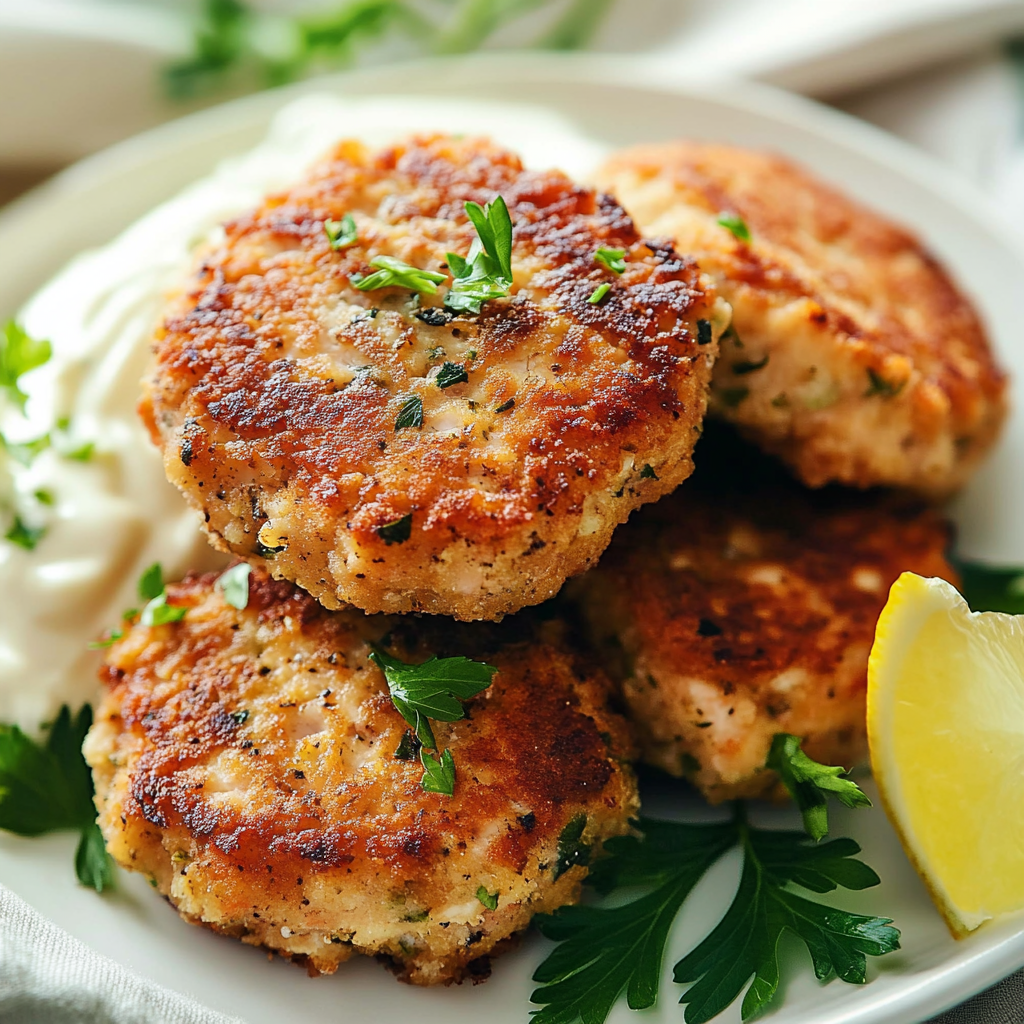
Essential Ingredients
Here’s what you’ll need to make this delicious dish:
-
Canned Salmon: Opt for wild-caught salmon if possible; it adds an excellent flavor and is packed with nutrients.
-
Panko Breadcrumbs: These give the cakes their crispy texture. Regular breadcrumbs work too, but panko is my favorite!
-
Egg: This acts as a binder, ensuring your cakes hold together beautifully during cooking.
-
Green Onions: Chopped green onions add freshness and a subtle onion flavor that enhances the overall taste.
-
Lemon Juice: A splash of lemon juice brightens the flavors and gives your cakes a refreshing zing.
-
Dill: Fresh or dried dill brings an aromatic touch that pairs perfectly with salmon.
-
Salt and Pepper: Essential for seasoning; don’t be shy—these little guys are flavor powerhouses!
The full ingredients list, including measurements, is provided in the recipe card directly below.
Let’s Make it Together
Prepare Your Ingredients: Start by gathering all your ingredients on the counter. Drain the canned salmon thoroughly to avoid soggy cakes.
Mix Everything Together: In a large bowl, combine canned salmon, panko breadcrumbs, egg, green onions, lemon juice, dill, salt, and pepper. Use your hands to mix until just combined; avoid overmixing!
Shape the Cakes: Grab a handful of the mixture and form it into patties about 1 inch thick. If they fall apart slightly—that’s okay! Just treat them gently.
Heat Your Pan: Heat olive oil in a skillet over medium heat until shimmering. This is where the magic begins as you prepare to fry those beautiful cakes.
Cook Until Golden Brown: Place patties in the skillet without crowding them. Cook for 3-4 minutes per side until golden brown and crispy. Don’t forget to flip carefully!
Serve and Enjoy!: Once cooked through and delightfully crisped up on both sides, serve your salmon cakes warm with extra lemon wedges on the side for that zesty kick.
Now you have perfectly crafted salmon cakes ready for devouring! You can serve them with tartar sauce or simply enjoy them as is—delicious either way!
You Must Know
- These salmon cakes with canned salmon are not just quick; they’re a delightful way to enjoy seafood
- The crispy exterior and tender interior create a satisfying contrast, making each bite a treat
- Plus, you can whip them up in no time for a family meal
Perfecting the Cooking Process
Start by mixing your ingredients while preheating the skillet. Shape the cakes and sear them until golden brown, flipping carefully to avoid breaking.
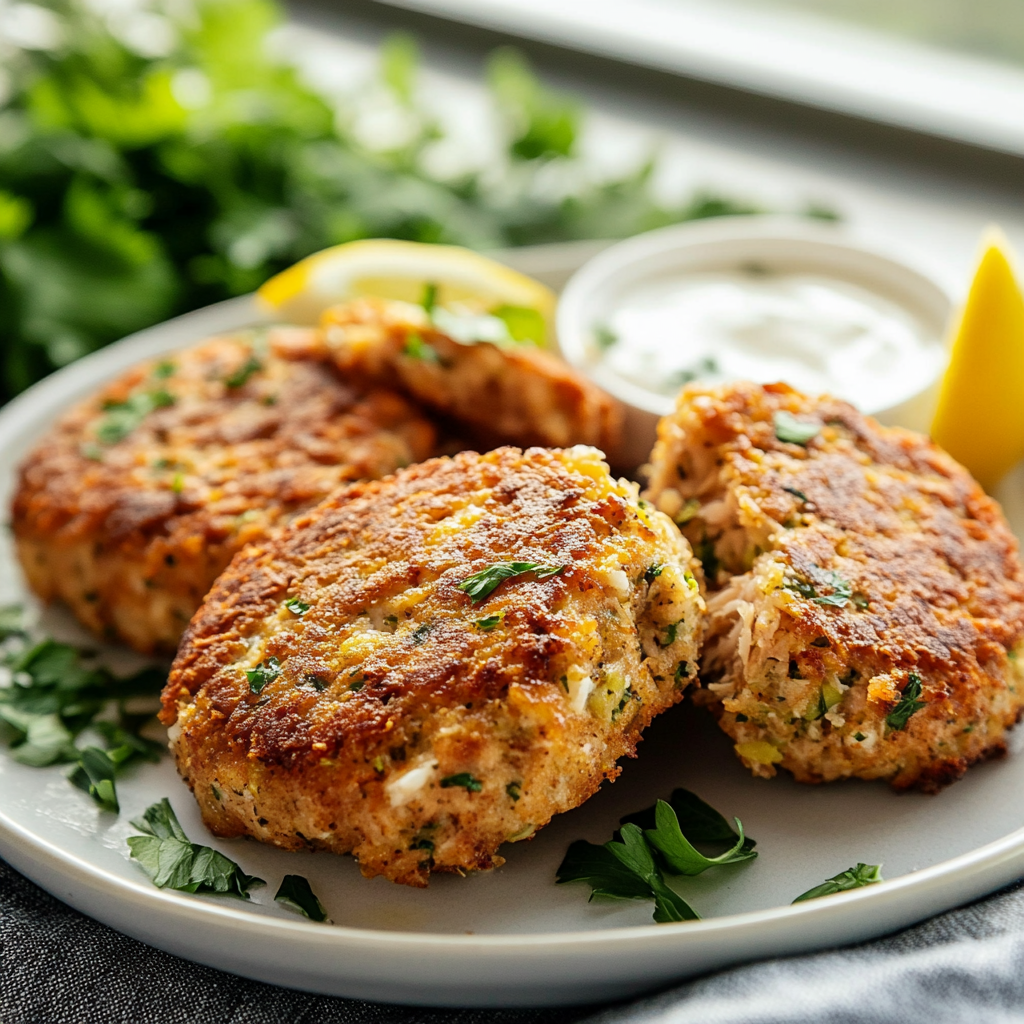
Add Your Touch
Feel free to swap canned salmon for tuna or add diced veggies for extra texture. Experiment with spices like Old Bay or even a hint of lemon zest.
Storing & Reheating
Store leftover salmon cakes in an airtight container in the fridge for up to three days. Reheat in a skillet on medium heat until warmed through and crispy.
Chef's Helpful Tips
- When making salmon cakes with canned salmon, drain the liquid well to prevent sogginess
- Ensure the mixture holds together by adding breadcrumbs as needed
- For extra flavor, try incorporating fresh herbs like dill or parsley in your mix
Sharing these delicious salmon cakes with my family always brings back memories of summer barbecues, where everyone eagerly awaited seconds and thirds. Their smiles after tasting my version say it all!
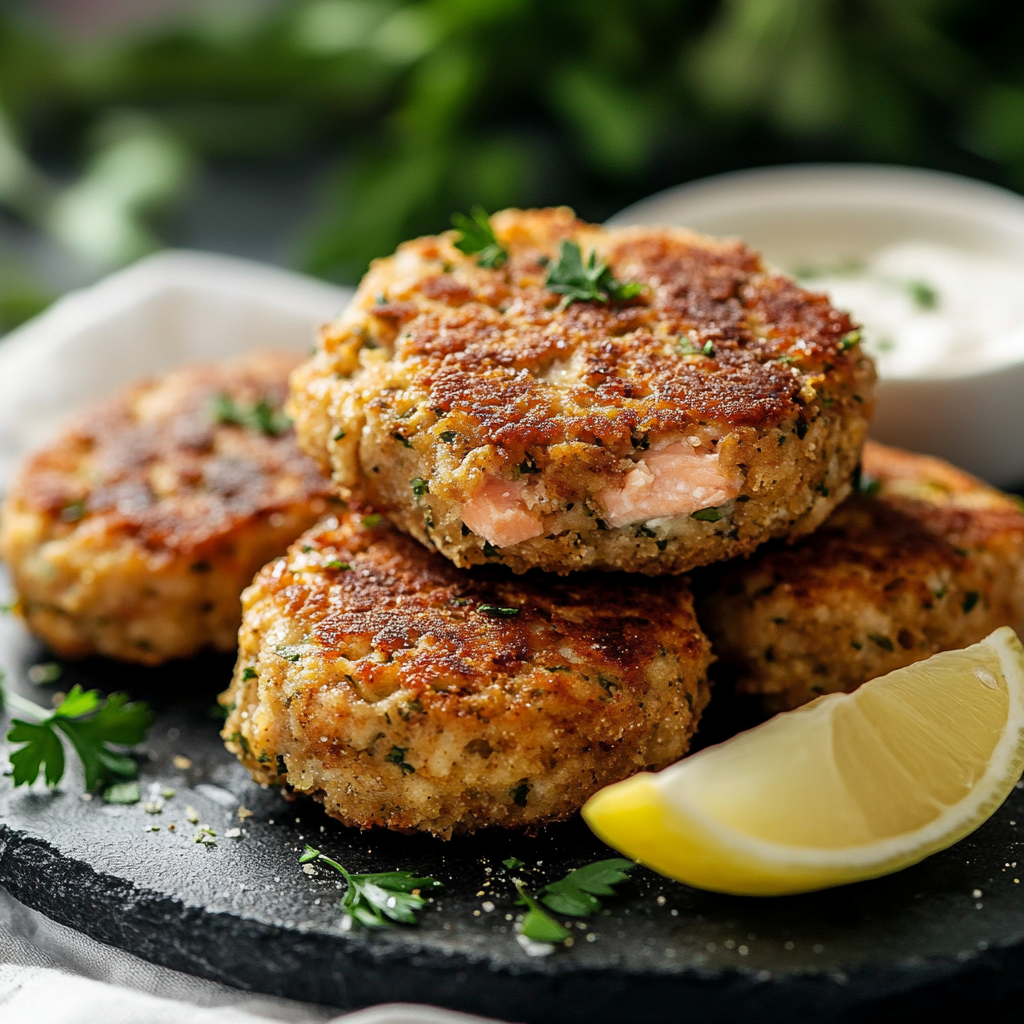
FAQ
Can I use fresh salmon instead of canned?
Yes, fresh salmon works well but requires cooking and flaking before mixing.
How do I know when the cakes are done?
Salmon cakes should be golden brown on both sides and heated through inside.
What sides pair well with salmon cakes?
Serve them with a light salad or coleslaw for a refreshing contrast.
Delicious Salmon Cakes
- Total Time: 25 minutes
- Yield: Makes about 8 servings 1x
Description
Indulge in these crispy, golden salmon cakes made from canned salmon, perfect for any occasion. With a flavorful blend of fresh ingredients and a satisfying crunch, each bite delivers comfort and joy. Whether you serve them as an appetizer or a main dish, these salmon cakes are sure to impress family and friends alike. Quick to prepare and deliciously nutritious, they bring the taste of summer barbecues right to your table.
Ingredients
- 1 (14.75 oz) can wild-caught salmon, drained
- 1 cup panko breadcrumbs
- 1 large egg
- 2 green onions, chopped
- 2 tbsp lemon juice
- 2 tsp dried dill
- 1 tsp salt
- 1/2 tsp black pepper
- 2 tbsp olive oil (for frying)
Instructions
- Gather all ingredients on your counter. Thoroughly drain the canned salmon.
- In a large bowl, combine the canned salmon, panko breadcrumbs, egg, green onions, lemon juice, dill, salt, and pepper. Mix gently with your hands until just combined.
- Shape the mixture into patties about 1 inch thick.
- Heat olive oil in a skillet over medium heat until shimmering.
- Fry the patties in batches for 3-4 minutes on each side until golden brown and crispy.
- Serve warm with lemon wedges or your favorite dipping sauce.
- Prep Time: 10 minutes
- Cook Time: 15 minutes
- Category: Main
- Method: Frying
- Cuisine: American
Nutrition
- Serving Size: 1 cake pop (45g)
- Calories: 150
- Sugar: 0g
- Sodium: 500mg
- Fat: 8g
- Saturated Fat: 1g
- Unsaturated Fat: 6g
- Trans Fat: 0g
- Carbohydrates: 10g
- Fiber: 1g
- Protein: 10g
- Cholesterol: 40mg

