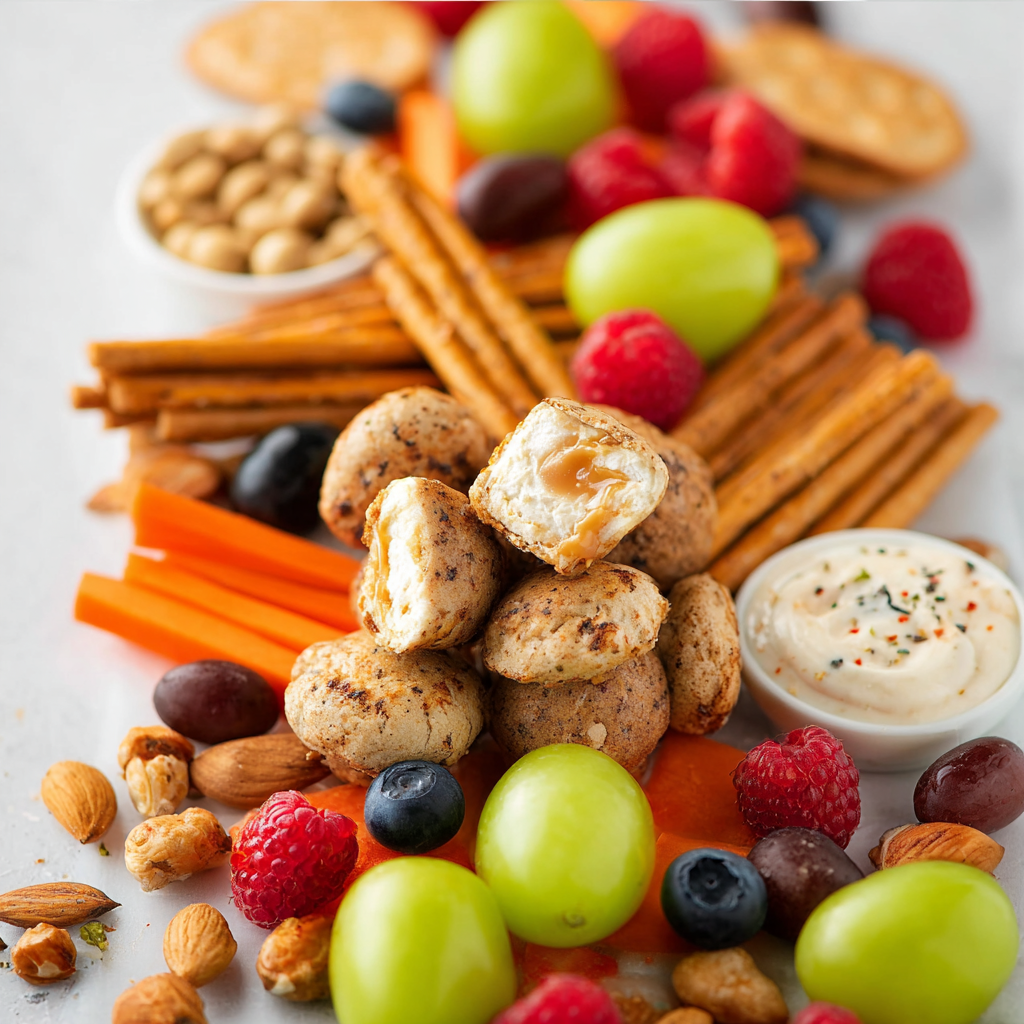
Imagine the delightful crunch of a homemade school snack, packed with flavors that dance on your tongue and aromas that fill the room with warmth. Picture a crispy, golden-brown treat that’s not just a snack but an experience, perfect for munching after school or while cramming for exams. These school snacks are like little hugs in edible form, ready to make any afternoon brighter.
Now, let’s add a sprinkle of nostalgia. Remember those days when you’d rush home, throw your bag on the floor, and dive straight into a snack? Whether it was sharing giggles over warm cookies or sneaking bites of something sweet while pretending to study, those moments were pure joy. As you prepare these tasty morsels, you’ll not only satisfy your cravings but also create new memories worth cherishing.
Why You'll Love This Recipe
- These school snacks are incredibly easy to whip up, making them perfect for busy afternoons
- They burst with flavor and visual appeal, making snack time exciting
- With endless variations possible, you can cater to every taste preference
- Plus, they’re perfect for sharing with friends or keeping all to yourself!
I vividly remember my brother’s face lighting up when he took his first bite of these school snacks; his smile was priceless!
Essential Ingredients
Here’s what you’ll need to make this delicious dish:
-
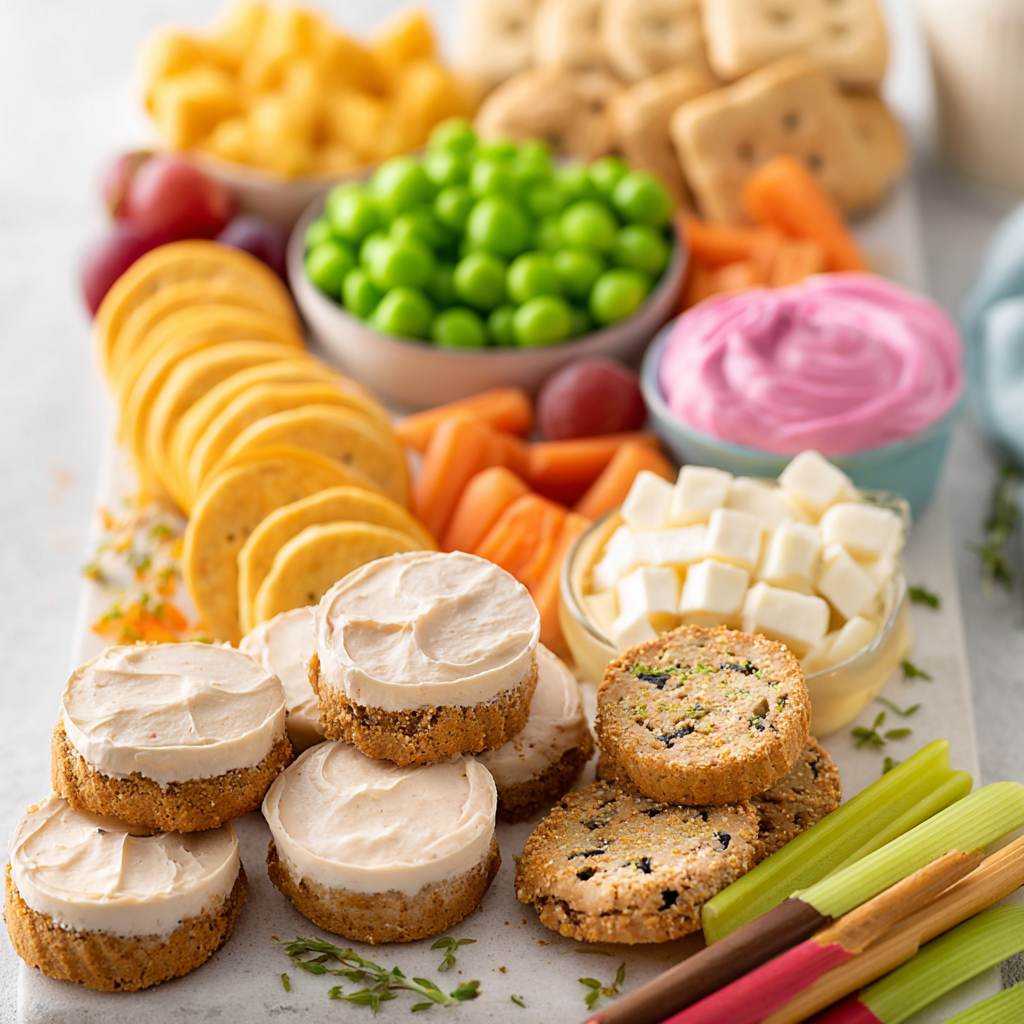
Oats: Rolled oats give a hearty texture and are great for binding everything together.
-
Peanut Butter: Use creamy or crunchy peanut butter based on your preference; both add rich flavor.
-
Honey: Opt for raw honey for added nutrients and a lovely sweetness.
-
Chocolate Chips: Semi-sweet chocolate chips add a delightful sweetness; feel free to substitute with dark chocolate.
-
Dried Fruit: Raisins or cranberries bring chewy texture and natural sweetness—perfect for balancing flavors.
-
Nuts: Chopped walnuts or almonds provide crunch and healthy fats—use whatever nuts tickle your fancy!
The full ingredients list, including measurements, is provided in the recipe card directly below.
Let’s Make it Together
Gather Your Ingredients: Begin by assembling all your ingredients on the kitchen counter. Measure out oats, peanut butter, honey, chocolate chips, dried fruit, and nuts. Having everything ready makes cooking smoother.
Mixing Time!: In a large bowl, combine oats, peanut butter, honey, chocolate chips, dried fruit, and nuts. Stir until fully combined; the mixture should be thick but manageable.
Chill Out!: Transfer the mixture to a lined baking dish and press it down firmly using your hands or a spatula. Refrigerate for at least an hour until firm; this helps everything stick together beautifully.
Slice and Serve!: Once chilled and firm, remove the mixture from the dish and slice it into bars or squares. Feel free to cut them into fun shapes if you’re feeling creative!
Enjoy Your Creation!: Serve immediately or store in an airtight container for up to a week. Enjoy these delicious school snacks during study sessions or as an afternoon pick-me-up!
This is very Important before generating any phrase or paragraph do not use any characters (** , * , – , — …) at the beginning
Three Key Tips for School Snacks
Keep it simple: Choose ingredients that are easy to handle and quick to prepare. I once tried to impress my kids with a gourmet snack, and they just wanted peanut butter and jelly.
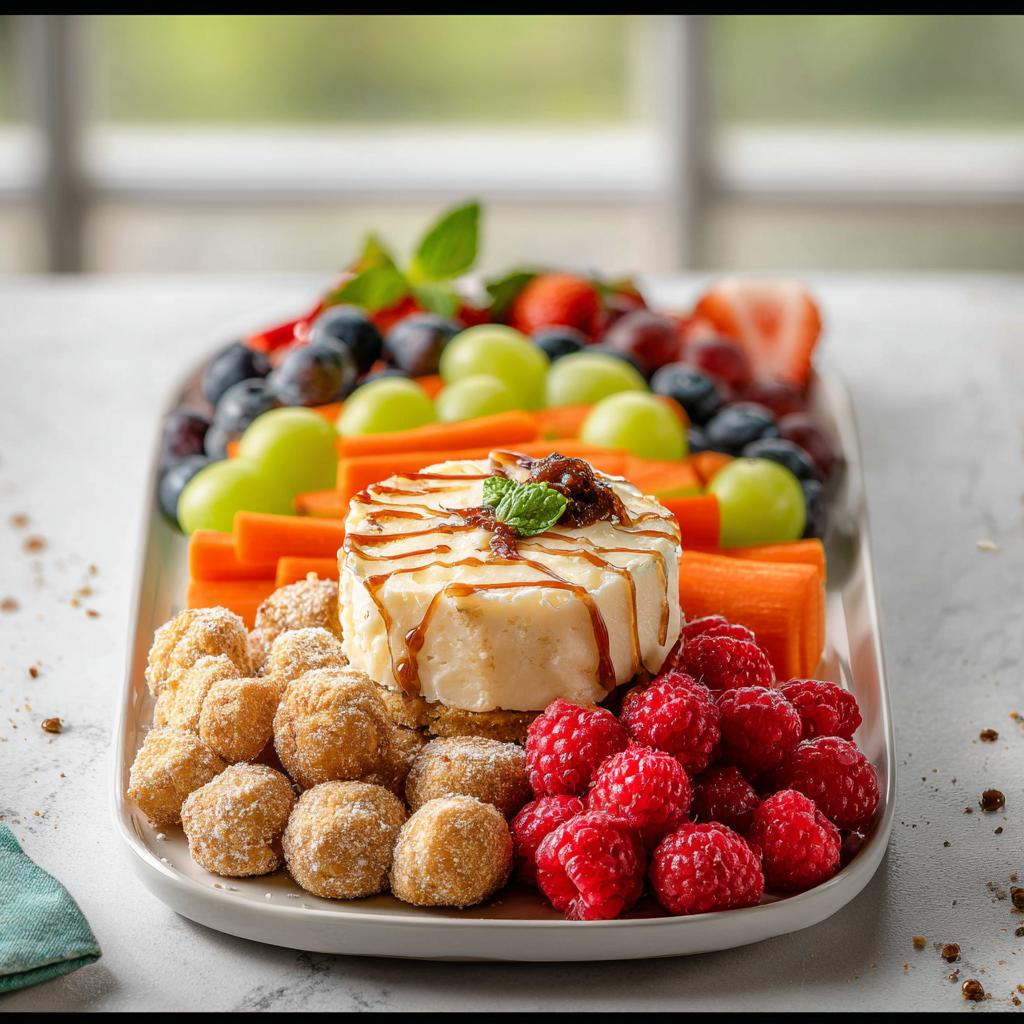
Make it colorful: Use vibrant fruits and veggies to create visually appealing snacks. When my daughter helped assemble a rainbow fruit platter, she actually finished her plate!
Pack with protein: Include proteins like nuts, cheese, or yogurt to keep them energized. My son’s face lights up when he finds cheese sticks in his lunchbox—it’s a win-win!
You Must Know
- School snacks should be fun, nutritious, and easy to pack
- Remember to involve your kids; they’ll love helping create their own snacks, making lunchtime much more exciting!
- Colorful options will also encourage them to try new things
Perfecting the Cooking Process
Start by prepping all ingredients before assembling your snacks. This ensures efficiency and gives you time to enjoy the process without feeling rushed or overwhelmed.
Add Your Touch
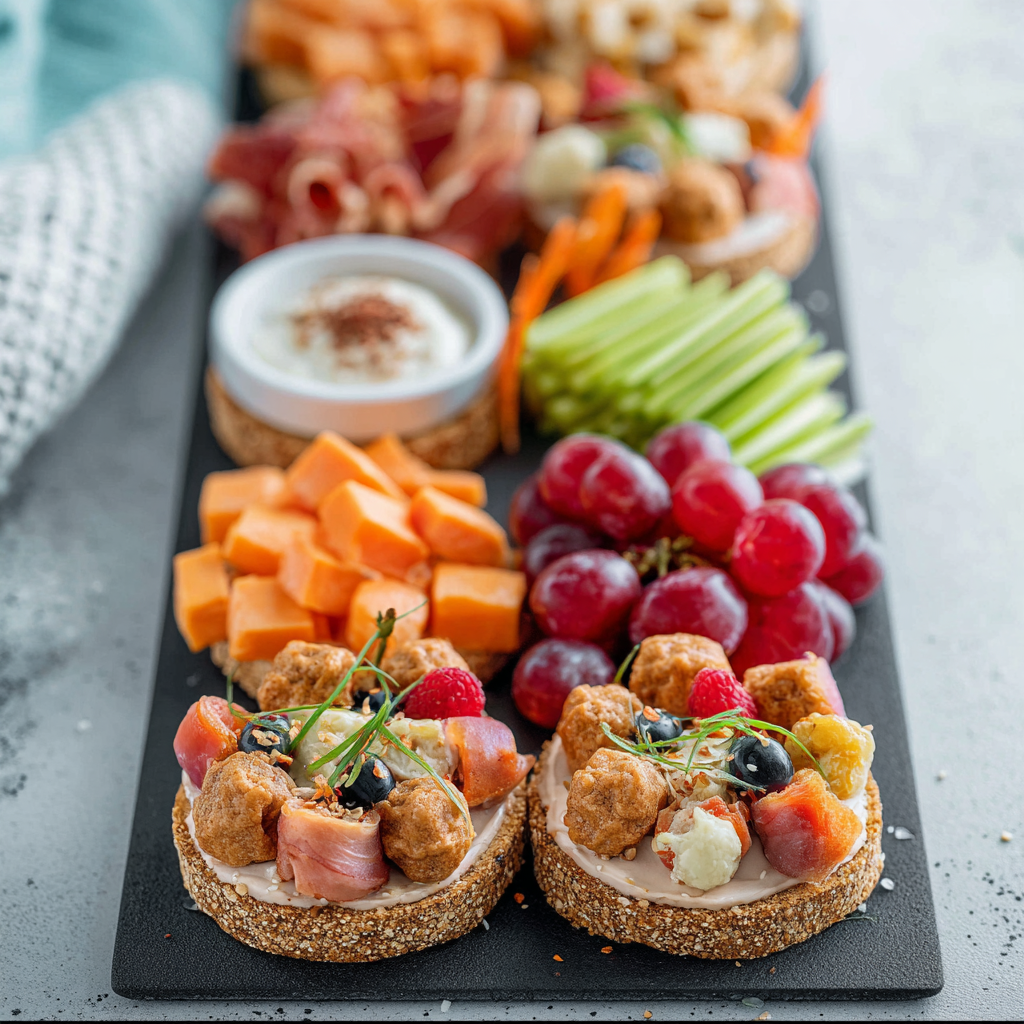
Feel free to swap out any ingredients based on dietary needs or preferences. For instance, use almond butter instead of peanut butter if allergies are a concern; creativity makes snacking fun!
Storing & Reheating
Store prepared school snacks in airtight containers in the fridge for optimal freshness. If reheating, do so gently in the microwave to maintain texture and flavor without drying them out.
Chef's Helpful Tips
- Keep your school snacks interesting by rotating ingredients weekly
- Kids love variety!
- Consider using whole-grain wraps filled with different fillings for a healthy twist on sandwiches
- Prepare veggie sticks ahead of time for quick grab-and-go options too!
Sharing memorable moments while creating school snacks has been a joy; my kids eagerly wait for our weekend cooking sessions where we experiment with flavors together.
FAQ
What are some healthy school snack ideas?
Try yogurt parfaits, homemade granola bars, or veggie sticks with hummus for balanced nutrition.
How can I make school snacks kid-friendly?
Involve kids in choosing and preparing their own snacks; they’re more likely to eat what they help make!
Can I prep school snacks ahead of time?
Absolutely! Many snacks can be made in advance and stored in the fridge for several days.
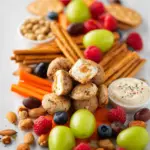
Homemade School Snacks
- Total Time: 15 minutes
- Yield: About 12 servings 1x
Description
Imagine the joy of creating delicious homemade school snacks that are both nutritious and fun! These chewy, no-bake treats packed with oats, peanut butter, and chocolate chips are perfect for after-school munching or a quick study break. With their delightful mix of flavors and textures, they are sure to become a family favorite. Easy to prepare and customize, these snacks not only satisfy cravings but also create cherished memories around the kitchen.
Ingredients
- 2 cups rolled oats
- 1 cup creamy peanut butter
- 1/2 cup raw honey
- 1/2 cup semi-sweet chocolate chips
- 1/2 cup dried fruit (raisins or cranberries)
- 1/2 cup chopped nuts (walnuts or almonds)
Instructions
- Gather all ingredients on your kitchen counter.
- In a large bowl, combine rolled oats, peanut butter, honey, chocolate chips, dried fruit, and nuts. Mix until well combined; the mixture should be thick.
- Transfer the mixture to a lined baking dish and firmly press it down with your hands or spatula.
- Refrigerate for at least one hour until firm.
- Once chilled, slice into bars or squares and enjoy!
- Prep Time: 15 minutes
- Cook Time: 0 minutes
- Category: Snack
- Method: No-bake
- Cuisine: American
Nutrition
- Serving Size: 1 bar (40g)
- Calories: 180
- Sugar: 8g
- Sodium: 55mg
- Fat: 9g
- Saturated Fat: 2g
- Unsaturated Fat: 6g
- Trans Fat: 0g
- Carbohydrates: 22g
- Fiber: 3g
- Protein: 5g
- Cholesterol: 0mg

