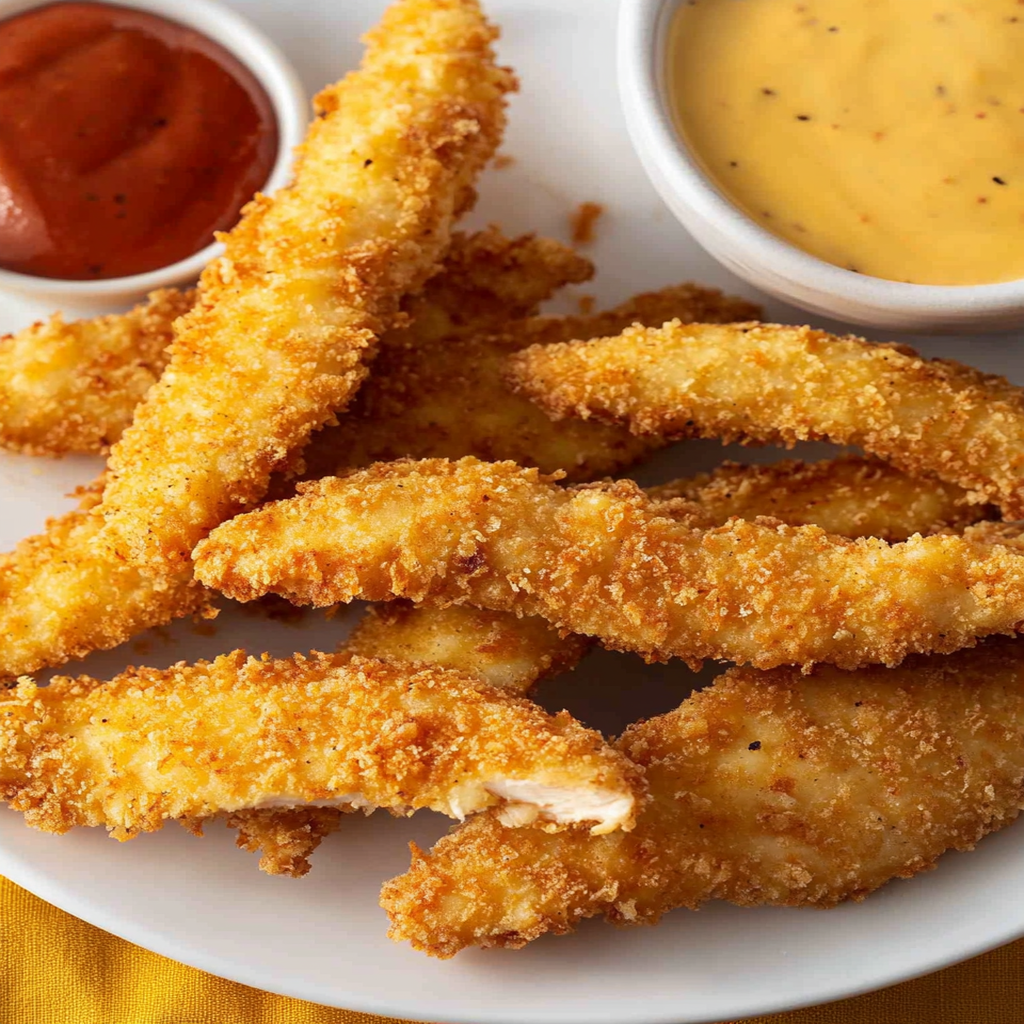
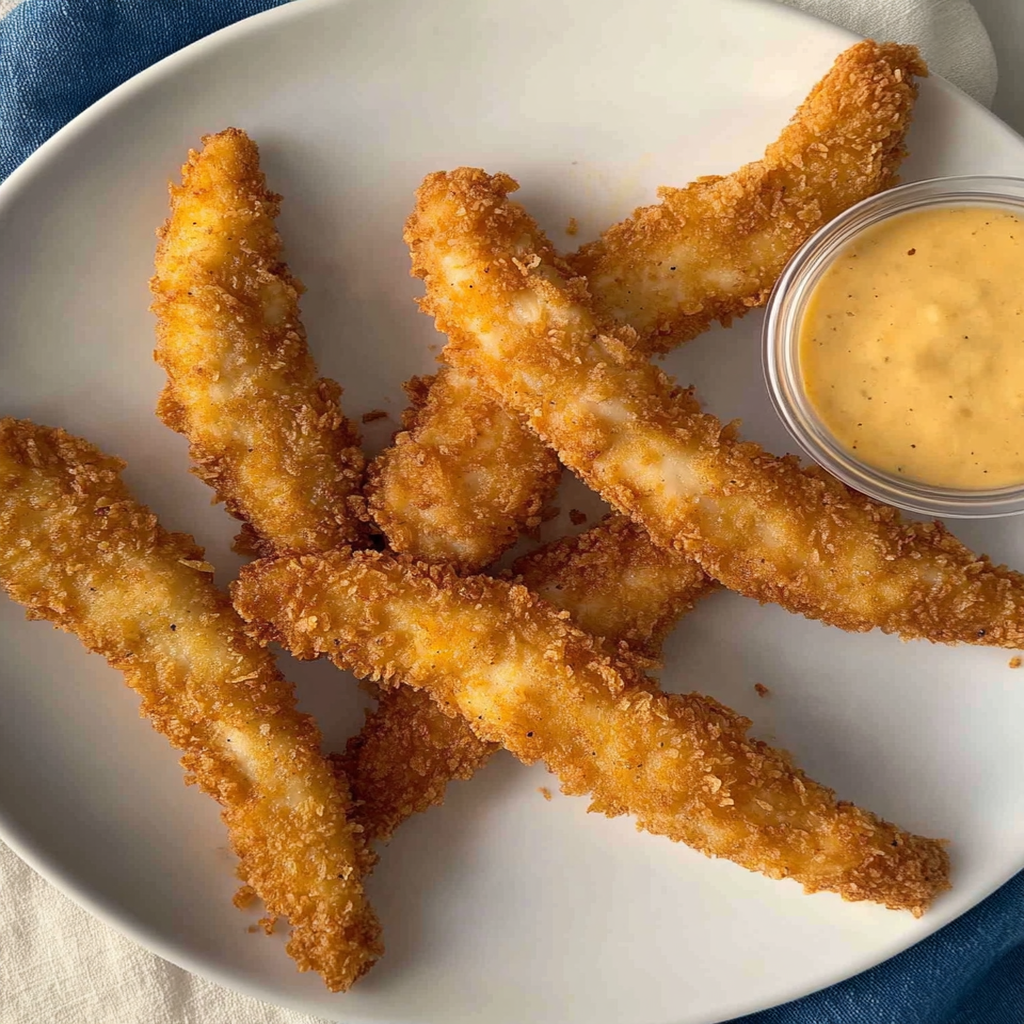
There’s something magical about biting into a perfectly cooked chicken tender. You know the feeling: crispy on the outside, juicy on the inside, with that satisfying crunch that can turn any ordinary day into a celebration. The aroma wafts through your kitchen, teasing your senses and making your stomach growl in anticipation. It’s like a warm hug for your taste buds, and trust me, once you take that first bite, you’ll be dreaming of these chicken tenders long after they disappear from your plate.
I remember the first time I made chicken tenders for my family. The kids were skeptical at first—”Not another boring dinner!” they’d groan—but those doubts vanished as soon as they took their first crispy bite. Suddenly, it was a chicken tender party at our dining table! Whether you whip them up for a family movie night or serve them at your next backyard barbecue, this dish has that incredible power to bring everyone together in blissful munching harmony.
Why You'll Love This Recipe
- These chicken tenders are quick to prepare, making them perfect for busy weeknights
- Their crispy exterior and juicy interior create a flavor explosion with every bite
- With their golden-brown appearance, they are sure to please both kids and adults alike
- Plus, they’re versatile enough to pair with various dipping sauces or sides for endless meal possibilities
Ingredients for chicken tenders
Here’s what you’ll need to make this delicious dish:
-
Boneless, Skinless Chicken Breasts: About 3-4 chicken breasts work best; adjust based on how many mouths you’re feeding.
-
All-Purpose Flour: This will help achieve that crispy coating we all love; don’t skip it!
-
Eggs: You’ll need two eggs to create a lovely binding mixture for the flour and breadcrumbs.
-
Breadcrumbs: Use panko breadcrumbs for an extra crunch; they’re like fairy dust for your chicken!
-
Garlic Powder: Just a sprinkle adds a punch of flavor without being overpowering.
-
Salt and Pepper: Essential seasonings that elevate every ingredient in this recipe.
For the Sauce:
-
Ketchup: A classic dipping sauce; feel free to mix in some hot sauce if you’re feeling adventurous!
The full ingredients list, including measurements, is provided in the recipe card directly below.

How to Make chicken tenders
Follow these simple steps to prepare this delicious dish:
Step 1: Prepare Your Chicken
First things first: ensure your chicken breasts are trimmed and ready to go. Cut them into tender-sized strips—about one inch wide is perfect for quick cooking!
Step 2: Set Up Your Breading Station
Create a little assembly line by placing three shallow bowls in front of you. In the first bowl, toss together flour with garlic powder, salt, and pepper. The second bowl is where you beat those eggs like they owe you money! And finally, fill the third bowl with breadcrumbs.
Step 3: Bread the Chicken
Take each chicken strip and coat it in flour first (give it a good shake), then dip it into the egg mixture (let it drip), and finally roll it around in those crunchy breadcrumbs until it’s well-coated.
Step 4: Heat Things Up
Preheat your oven to 400°F (200°C). If you’re frying instead of baking (which I highly recommend if you want an extra indulgent treat), heat some oil in a pan over medium-high heat until it’s shimmering.
Step 5: Cook Those Tenders
If baking: Place breaded chicken strips on a greased baking sheet and bake for about 15-20 minutes or until golden brown and cooked through. If frying: Carefully add chicken strips to the hot oil and cook for about 3-4 minutes per side until they reach crispy perfection!
Step 6: Serve and Enjoy!
Transfer those glorious tenders onto plates accompanied by your favorite sauces—ketchup or ranch sauce are crowd favorites—and enjoy every last crunchy morsel!
Now you’ve got all the secrets to making mouthwatering chicken tenders that are bound to impress anyone who sits around your dinner table! Don’t forget to share stories while you munch; food tastes better when there’s laughter involved!
You Must Know
- This amazing greek chicken marinade offers more than just flavor; it makes meal prep a breeze
- You can easily customize the ingredients based on what you have on hand
- The vibrant colors and aromas make it visually stunning on any dinner table
- Perfect for grilling but versatile enough for baking or pan-searing
Perfecting the Cooking Process
Start by marinating your chicken tenders to infuse them with flavor. While they soak, preheat your grill or oven. Sear the chicken first for that golden crust, then finish cooking until juicy perfection. Efficient multitasking is key here! For more inspiration, check out this helpful cooking tips recipe.
Add Your Touch
Feel free to swap out the lemon juice in the marinade for lime or add some honey for sweetness. Spice it up with your favorite seasonings like smoked paprika or garlic powder to create a unique twist on classic chicken tenders.
Storing & Reheating
Store leftover chicken tenders in an airtight container in the fridge for up to three days. When reheating, place them in a preheated oven at 350°F (175°C) until warmed through to maintain their crispiness.
Chef's Helpful Tips
- To get that perfect golden crust, ensure your chicken tenders are patted dry before marinating
- Don’t overcrowd the pan; give each piece space to breathe while cooking
- Allowing meat to rest post-cooking helps retain moisture and enhances flavor
Cooking these chicken tenders took me back to family barbecues where laughter mingled with the aroma of grilled goodness, and everyone fought over the last piece—my secret weapon was this marinade!
FAQs:
What are the best side dishes to serve with chicken tenders?
Chicken tenders pair well with a variety of side dishes. You can serve them with crispy French fries for a classic combo, or opt for a healthier choice like a fresh green salad. Coleslaw adds a nice crunch, while mac and cheese brings comfort to your meal. For dipping, consider ranch dressing or honey mustard sauce. Each of these options complements the flavors of chicken tenders, making for a satisfying meal.
How do I ensure my chicken tenders stay crispy?
To keep your chicken tenders crispy, start by using a double-breading technique. Dip the chicken pieces in flour, then egg wash, and finally coat them in breadcrumbs. Fry them at the right temperature; too low will make them greasy. After frying, place the tenders on a wire rack instead of paper towels to prevent steam from making them soggy. This method will help maintain that delightful crunch.
Can I bake chicken tenders instead of frying?
Yes, you can bake chicken tenders instead of frying for a healthier option. Preheat your oven to 400°F (200°C) and place the breaded tenders on a parchment-lined baking sheet. Spray them lightly with cooking oil to promote even browning. Bake for about 20-25 minutes until they reach an internal temperature of 165°F (75°C). Baking provides a delicious alternative without sacrificing flavor.
What is the best way to store leftover chicken tenders?
To store leftover chicken tenders, let them cool completely before placing them in an airtight container. They can be kept in the refrigerator for up to three days. For longer storage, consider freezing them; wrap each tender in plastic wrap before placing it in a freezer-safe bag. When ready to eat, reheat in an oven or air fryer to restore their crispiness.
Conclusion for chicken tenders:
In summary, chicken tenders are not only versatile but also easy to prepare. Whether you choose to fry or bake them, following proper techniques ensures they remain flavorful and crispy. Pairing them with delicious sides enhances your dining experience. By storing leftovers correctly, you can enjoy this dish even after your main meal. Embrace creativity with sauces and sides for an exciting twist on this classic favorite! For more inspiration, check out this delicious main dishes recipe.

Crispy Chicken Tenders
- Total Time: 35 minutes
- Yield: Approximately 4 servings 1x
Description
Indulge in the irresistible crunch of homemade chicken tenders! These perfectly breaded strips are golden brown on the outside and juicy on the inside, making them a hit at family movie nights or backyard barbecues. Serve them with your favorite dipping sauces for a meal that’s as fun to eat as it is delicious.
Ingredients
- 1 lb boneless, skinless chicken breasts (about 3–4 breasts)
- 1 cup all-purpose flour
- 2 large eggs
- 1 cup panko breadcrumbs
- 1 tsp garlic powder
- 1 tsp salt
- ½ tsp black pepper
- Cooking oil for frying (if not baking)
Instructions
- Trim chicken breasts and cut them into strips about 1-inch wide.
- Set up a breading station with three bowls: mix flour, garlic powder, salt, and pepper in the first bowl; beat eggs in the second bowl; and place breadcrumbs in the third bowl.
- Coat each chicken strip in flour, dip in egg, then roll in breadcrumbs until fully coated.
- Preheat oven to 400°F (200°C) or heat oil in a pan over medium-high heat if frying.
- For baking: Place chicken strips on a greased baking sheet and bake for 15-20 minutes or until golden brown. For frying: Cook each side for about 3-4 minutes until crispy.
- Serve hot with your choice of dipping sauces.
- Prep Time: 15 minutes
- Cook Time: 20 minutes
- Category: Main
- Method: Baking/Frying
- Cuisine: American
Nutrition
- Serving Size: 1 tender (85g)
- Calories: 290
- Sugar: 0g
- Sodium: 450mg
- Fat: 14g
- Saturated Fat: 2g
- Unsaturated Fat: 10g
- Trans Fat: 0g
- Carbohydrates: 27g
- Fiber: 1g
- Protein: 18g
- Cholesterol: 115mg


